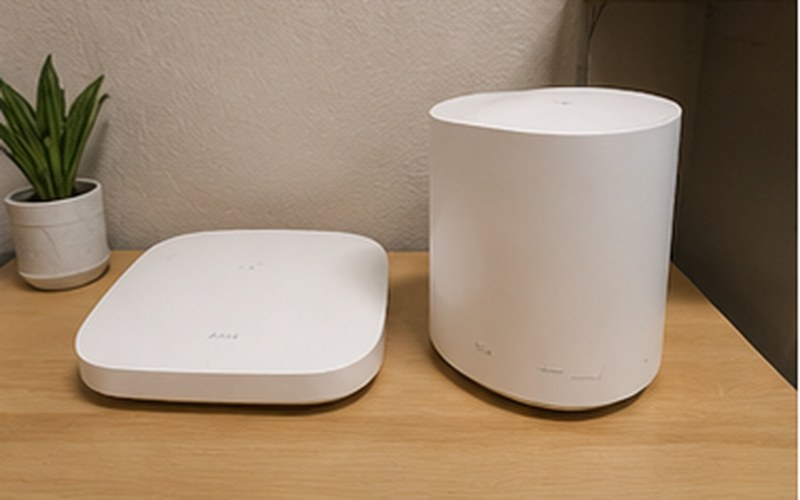
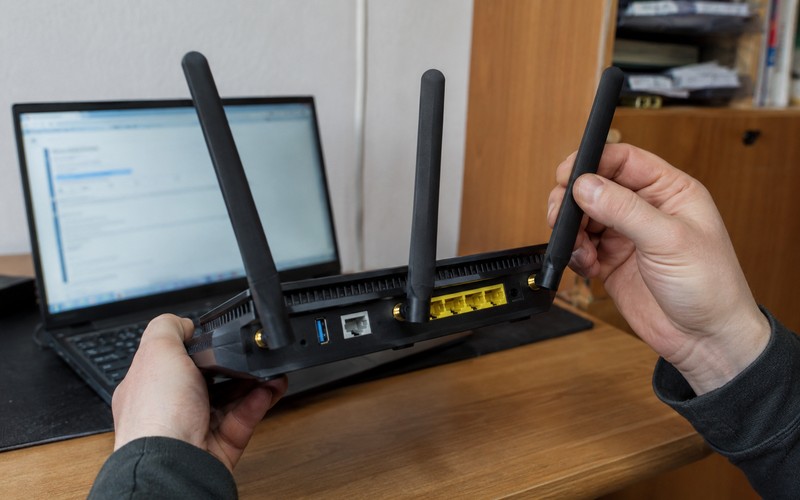
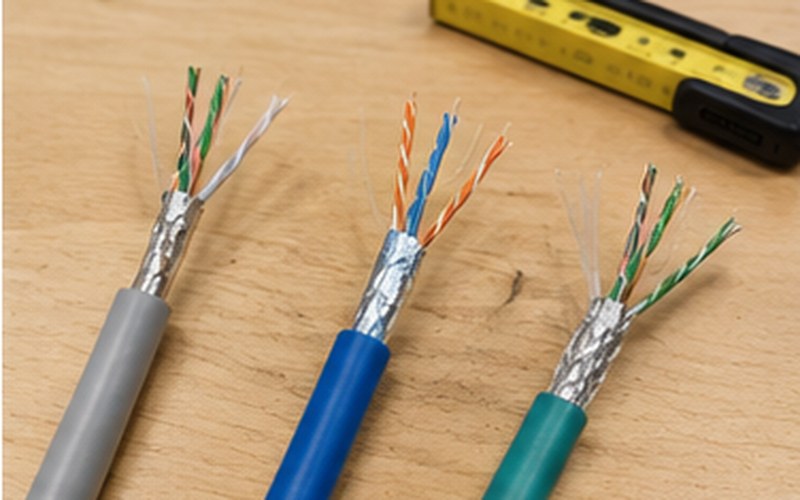
How to assess Wi-Fi coverage yourself, step by step, at home or in the office, before choosing between an additional access point, a mesh system or a cabling build-out.
Before deciding whether you need an additional access point, a mesh system or a cabling build-out, it's worth walking through the rooms yourself and noting exactly where the Wi-Fi signal weakens or disappears. This kind of initial survey helps you describe the problem more precisely and saves time when evaluating solutions – it often turns out that the problem is localized (one room, one corner) rather than requiring a full network redesign. Below is a practical checklist you can carry out with an ordinary smartphone, without any special equipment.
Draw an approximate floor plan on paper, or use an existing home/office plan if you have one. Mark where the router or main access point is located, and note the wall material where it differs (for example, concrete or brick partitions weaken the signal more than drywall partitions).
Moving from room to room with a phone or laptop, check the following in each room:
For each room, note an approximate signal rating on your plan – for example, "good," "weak" or "no signal" (dead zone). Pay special attention to spots where the signal is borderline (sometimes good, sometimes weak) – this often points to an interference problem rather than simply a distance problem.
| Room type | What to expect on a normal network | Possible warning sign |
|---|---|---|
| Room with the router / access point | Very stable, high speed | — |
| Adjacent room (1 wall) | Stable signal, slight speed drop | Frequent dropped video calls |
| Farther room (2+ walls or another floor) | Weaker signal, but usable for basic tasks | Streaming "stutters," slow page loads |
| Basement, garage, garden house | Signal often already noticeably weaker | Complete dead zone – no signal at all |
These figures are a general reference – the real picture depends on your specific building materials, equipment class and interference environment.
If the signal in some room fluctuates inconsistently, check these common interference sources before concluding you need additional equipment:
If your survey finds 1–2 small problem zones close to the existing access point, it's often enough to move it to a more central location or change the channel. If dead zones appear in several rooms or on another floor, that usually indicates a need for additional coverage – a mesh system or an additional access point. If the floor area is large, the walls are thick, and stable high-load performance matters (for example, an office with many simultaneous users), it's worth considering a wired (Ethernet) connection for additional access points rather than relying solely on a wireless mesh connection.
Coverage problems are sometimes actually load problems – many devices connected to the same access point at once can reduce the throughput available to each device, even if signal strength is good. If your home or office has many smart devices (cameras, sensors, smart lighting hubs) and several people are streaming video or working remotely at the same time, it's worth noting the approximate number of devices in each zone. This helps distinguish a situation that needs a stronger signal from one that needs a more capable or additional access point able to serve a larger number of devices at once.
Once you've walked through every room and marked the problem zones, count how many rooms or zones showed a weak signal or a dead zone. One or two small problem zones close to the existing transmitter often suggest that a minor adjustment – moving the router or changing the channel – will be enough. If there are more problem zones, spread across different corners or on another floor, that already points to a need for an additional coverage solution for the whole space, rather than a spot fix.
If you plan to consult a specialist or purchase additional equipment after your survey, it's valuable to keep your notes in a structured way – not just verbal observations, but also photos of the floor plan with the problem zones marked. This kind of documentation saves time in later conversations, since it lets you show exactly where the problem is rather than describing it generally from memory. If possible, also note the approximate time of day when you carried out the survey, since interference from neighboring networks can vary depending on how many networks are actively in use nearby at that moment.
A systematic room-by-room walkthrough with a simple signal assessment in each room is a fast, free way to understand the scale of a coverage problem before choosing a specific solution. This kind of self-assessment also makes the conversation with a specialist easier, since you'll already have a clear picture of which rooms are problematic and how pronounced the problem is in each one.
We carry out a detailed site survey and recommend the optimal number and placement of access points.
This resource is part of our Wi-Fi network installation service.
Wi-Fi Network Installation →Fill in the form – we'll get in touch to discuss your needs.
Request a free consultation – we'll get in touch to discuss your needs.
We'll contact you within 5 minutes of submitting the form